
If you squint, you can see it's from the June 2013 issue of Real Simple. Soooo, it just feels like a million. Because I've been dreaming of it for the kid's closet.
In fact, when we did the big reno, I asked my contractor to build this for their room. He laughed and said, "I'll do it, but it's gonna cost you about 5 times the price of that kit." Done. Don't.
Didn't.
A few months later, I got all inspired by another blogger's closet, who used the same Closetmaid system. I got all "if she can do it, I can do it".
And took 6 months to buy the kit.
Then went on summer vacation.
But I finally put it together!!!
 |
| Double Door Closet |
 |
| Mess Inside |
This was as far as I got in organizing their closet a year after moving back in. Fail. HUGE FAIL.
The space is not small. It's 4 feet wide, over 8 feet tall and 20 inches deep. So with those specs, I was able to match the Closetmaid Selectives 16" Starter Kit.

It's sold at Home Depot for around $100. It was surprisingly easy to assemble. If you can put together Ikea, you can do this. If you can't put together Ikea, you can definitely do this. The instructions have words (in many languages!) along with pictures and helpful hints and what-not-to-do's.
 |
| Bottom Half |
 |
| Secured to the Wall |
 |
| Top Half |
 |
| Click-In Adjustable Hanging Rod |
 |
| Thank God It's Level |
 |
| Plus Room On Top |
 |
| Bones |
 |
| Complete...??? |
What it does not have is enough shelves. The three you see in the 2nd last picture above cannot move. They are screwed in place to keep the tower stable.
I get that.
But...then there are a million pre-drilled holes on each side for additional shelf placement. Annnnnd...two extra shelves. What a tease :(
 |
| Reference |
So I check my magazine reference. Seven shelves! I only have five. I need two more to recreate the dream. Back to Home Depot. Nothing. No extra shelves for sale. Not even an empty shelf of shelves. Uh oh.
I call Closetmaid. Explain. Plead. Beg. Nope. Not for sale.
Really?
I'm not buying a whole other kit to get two dang shelves. I tell them that. I tell them I regret buying their system. And they should think about selling the shelves.
(Here's where you ask - why not put in drawers instead? Those are sold separately! I would. But if I move the tower to the right, so the drawers clear the door jamb, the hanging rod doesn't fit. Boo.)
So I get to cleaning up and a light bulb goes off. If I can't make a shelf from the bottom, what about from above? Enter Ikea.

Aha? Aha!
I have two of these Observator clip-on baskets in my basement pantry/closet from the good old Ivar system days. So I thought, yes! Instead of throwing my Closetmaid out the window, which would be hard after securing it through the wall into STUDS, those would work!
So off to Ikea I went.
 |
| BETTER! |
And since you can never leave Ikea with just the one thing you came for, I got hangers and a box, too. Score!
 |
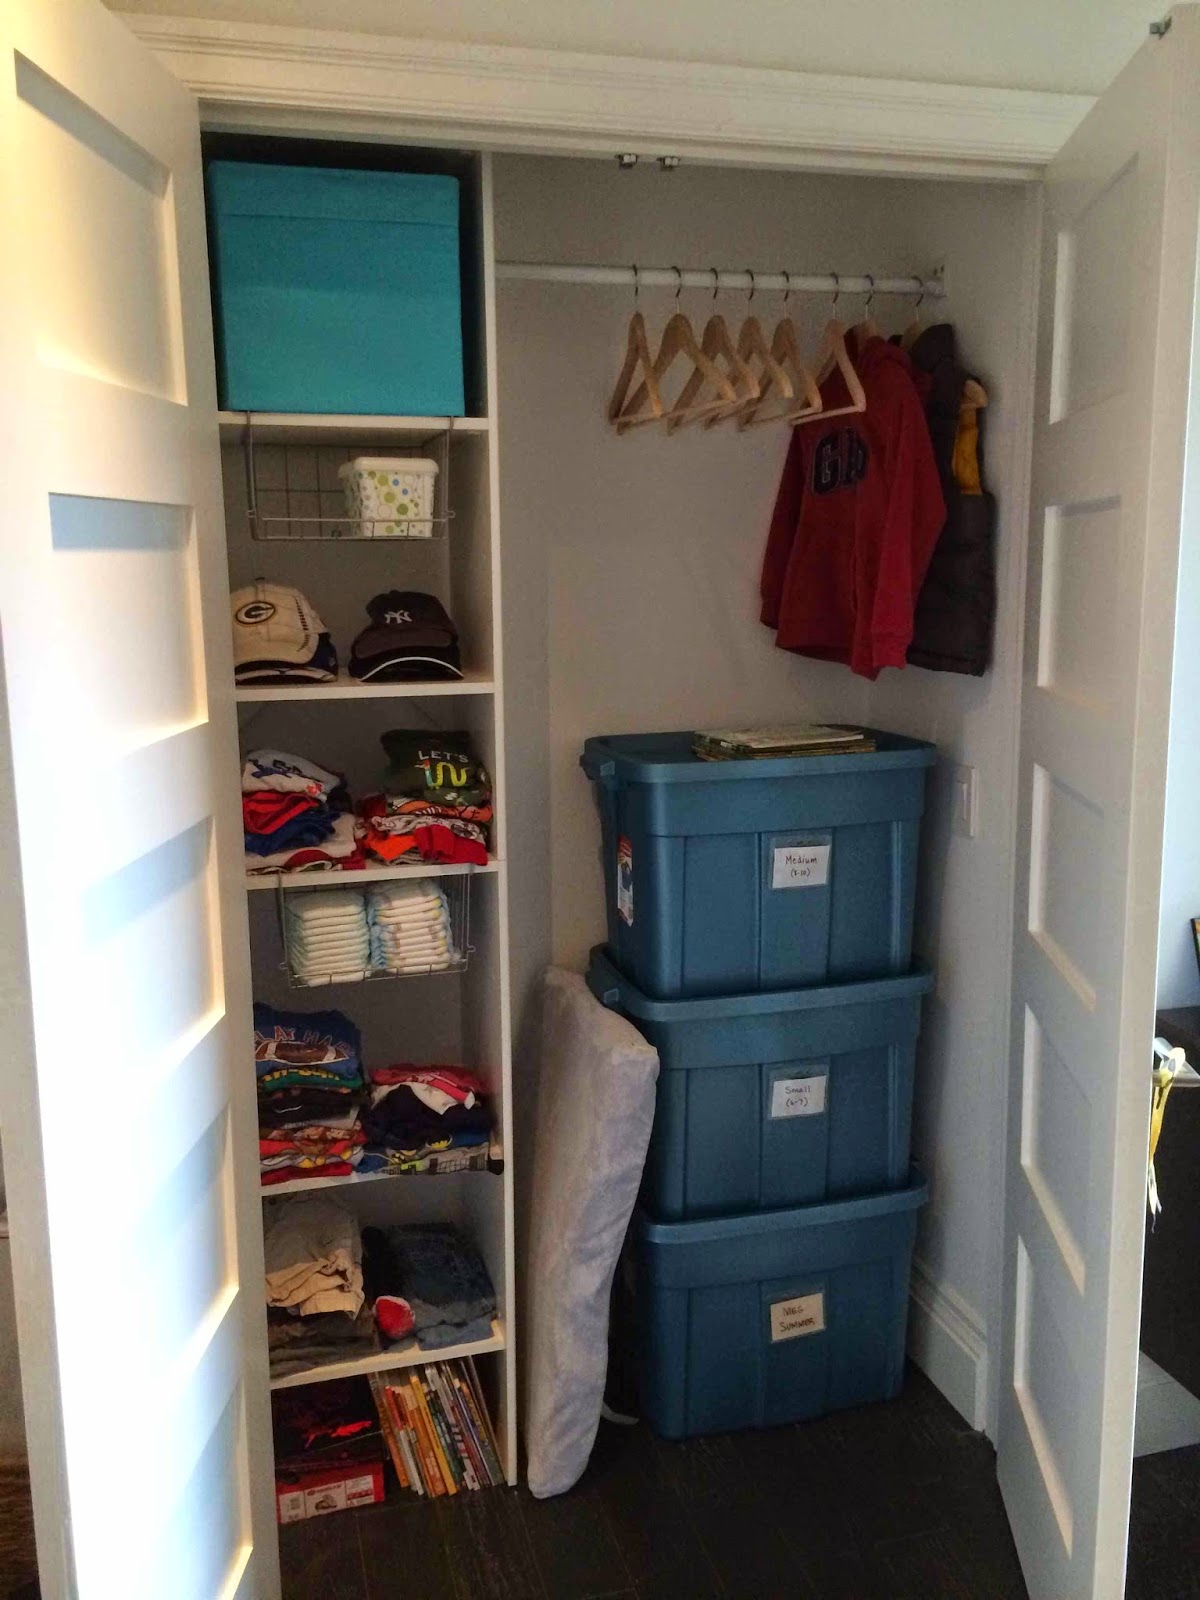
| Big Boy George |
The closet organizer is for George's things, so the hanging baskets are perfect for diapers/pullups and wipes. When he outgrows those -I can't wait, I can't wait, I can't wait- he can decide what to put in them.
For now, everything is in the open instead of baskets. He likes to pick out his own clothes in the morning and a book from the bottom at night. And no matter how messy it gets, I can just close the doors!
(Those hats aren't his...yet. But this IS the house of hand-me-downs.)
I never think of Ikea as the help for something else. I always think how something else can help Ikea. So this was a nice surprise. And although the lack of shelves is a bummer, I'm impressed with how versatile and sturdy the Closetmaid system is. It's not flush with the wall to the left because of the baseboard...but this thing ain't goin' nowhere.
Good on ya, Closetmaid, but get on those shelves. And thank you, Ikea, for keeping the dream alive.
(Nothing came for free / Neither of these companies know I exist. I'm just happy I finally got this project done.)


